Sometimes the board’s internal DHCP service becomes corrupted stopping it creating an internal IP address for your device to connect to. This can be by-passed using the following guides. We have guides for IOS, Android & PC. Please scroll to relevant section depending on what device your using. We find IOS devices work best.
IOS (iPhone/iPad etc..)
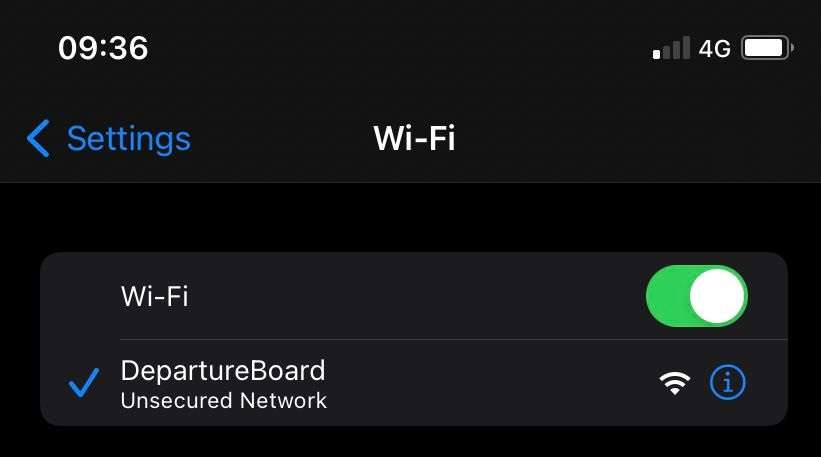
1) Using your phone find the ‘DepartureBoard’ network and click on the little blue (i) icon on the right.
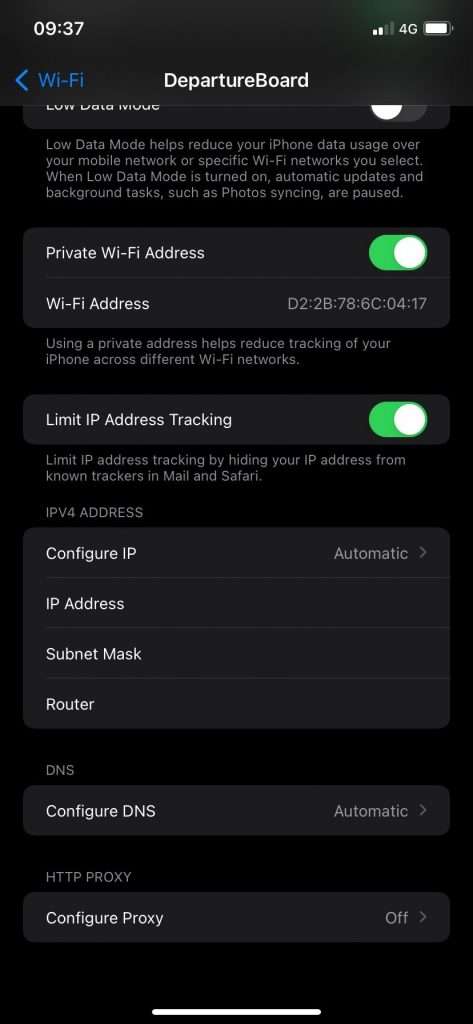
2) Under ‘IPV4 ADDRESS: Configure IP’ change ‘Automatic’ to ‘Manual’.
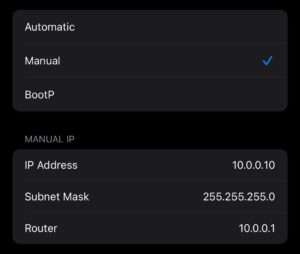
3) Set the following
- ‘IP Address’ to ‘10.0.0.10’
- ‘Subnet Mask’ to ‘255.255.255.0’
- ‘Router’ to ‘10.0.0.1’
Press Save. You should then be able to connect to the ‘DepartureBoard’ network.
Android
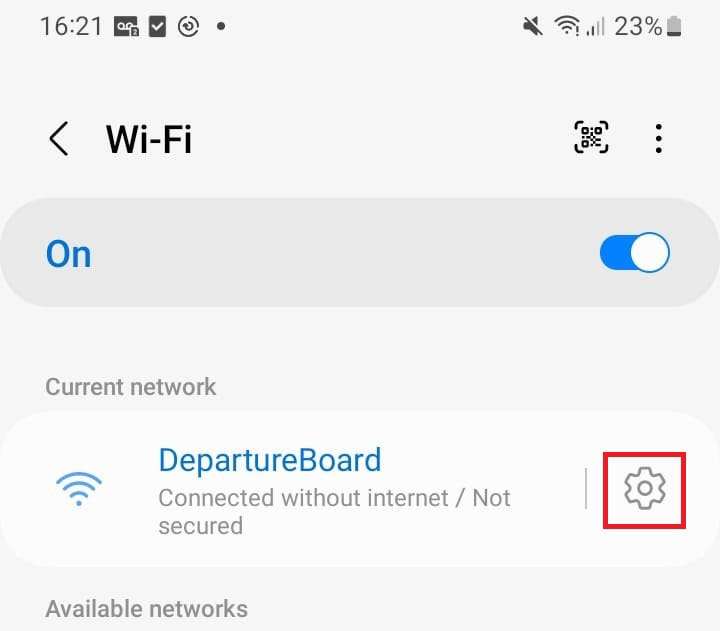
1) Using your phone find the ‘DepartureBoard’ network and click on the little Cog settings icon on the right.
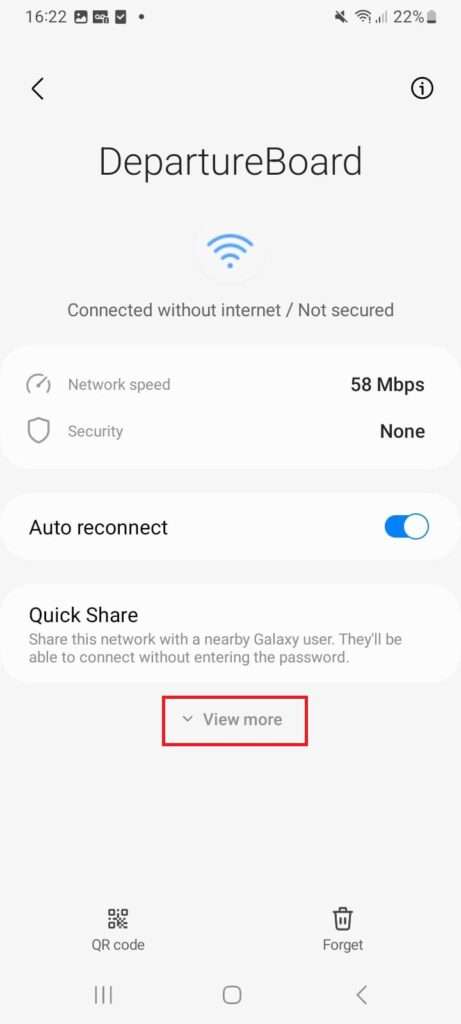
2) Click ‘View more’ text.
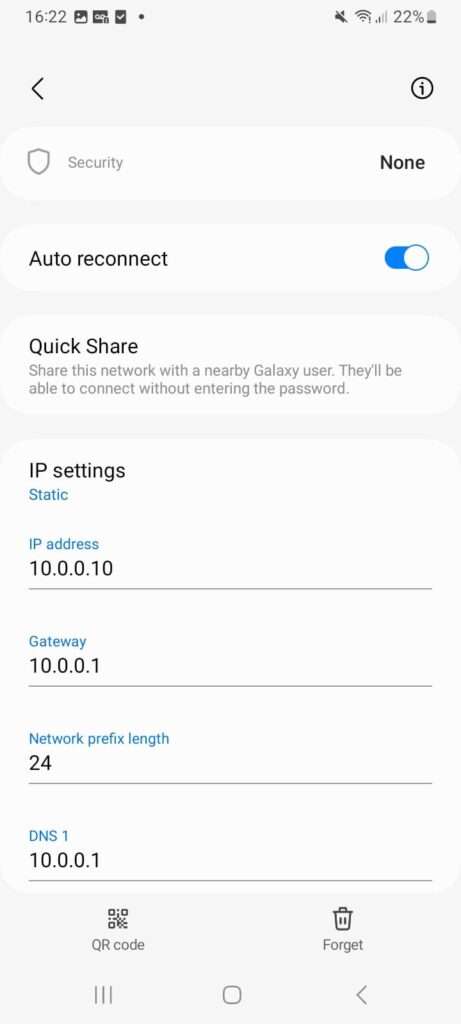
3) Set the following
- ‘IP Address’ to ‘10.0.0.10’
- ‘Gateway’ to ‘10.0.0.1’
- ‘Network prefix length’ to ’24’
- ‘DNS’ to ‘10.0.0.1’
Return using top left arrow. You should then be able to connect to the ‘DepartureBoard’ network.
Windows 11 (PC / Laptop)
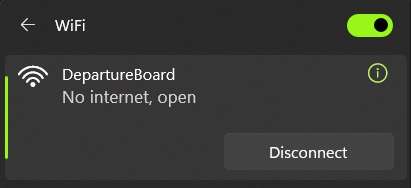
1) Connect to the ‘DepartureBoard’ network
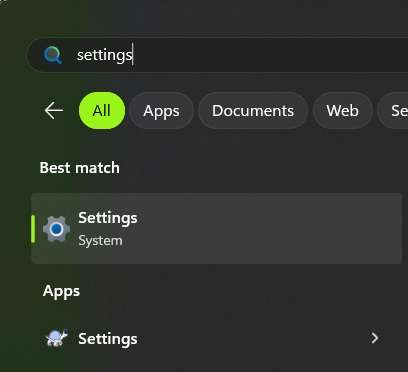
2) Using the Windows button search for “Settings”
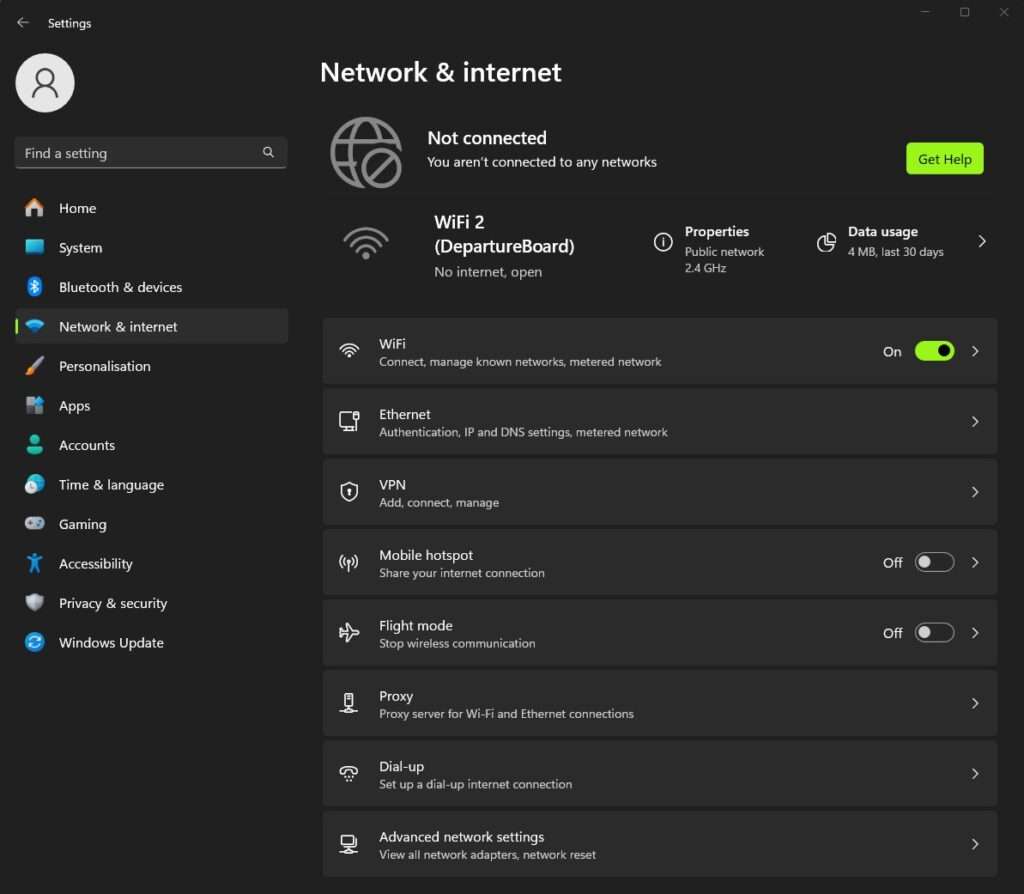
3) Click on ‘Network & internet’ tab, then click on ‘Properties’ (middle top of window)
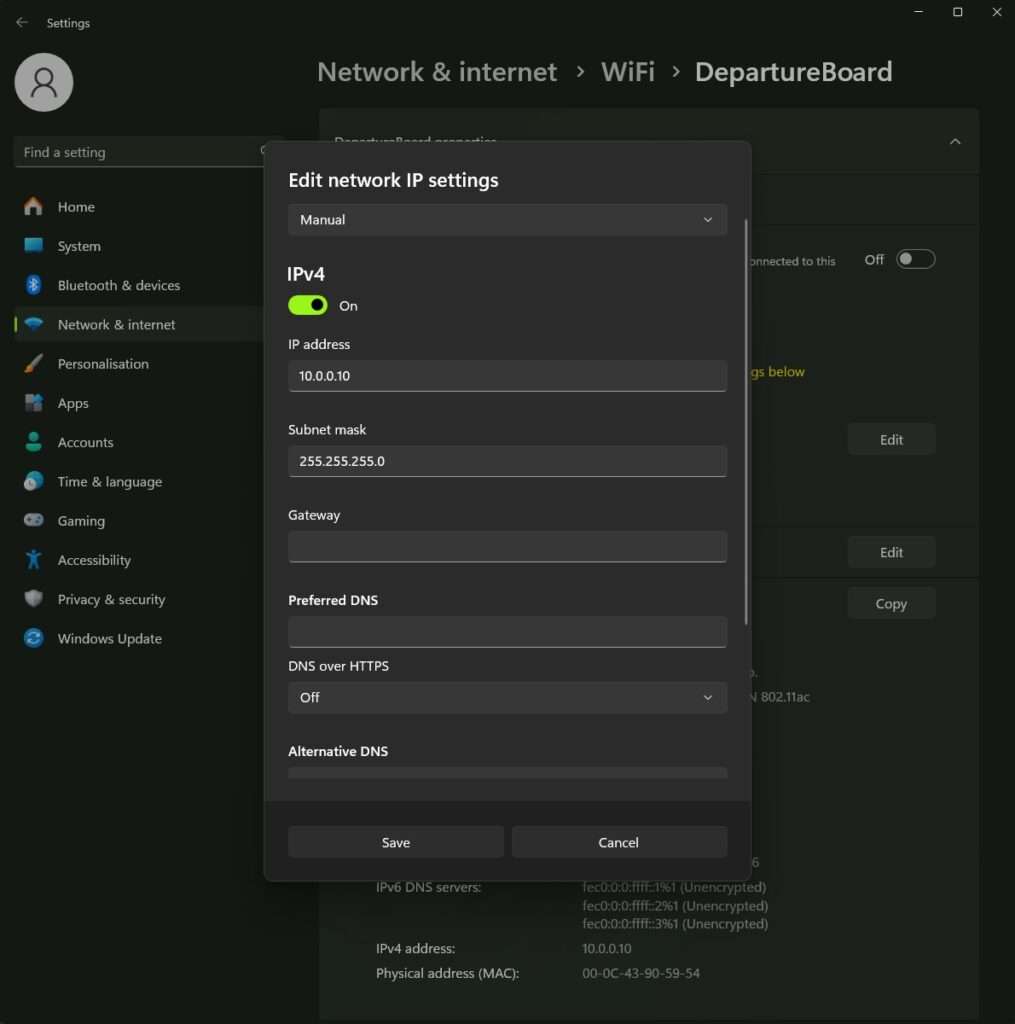
4) Under ‘IP Assignment’ Click ‘Edit’, then select ‘Manual’ then toggle ‘IPv4’ On
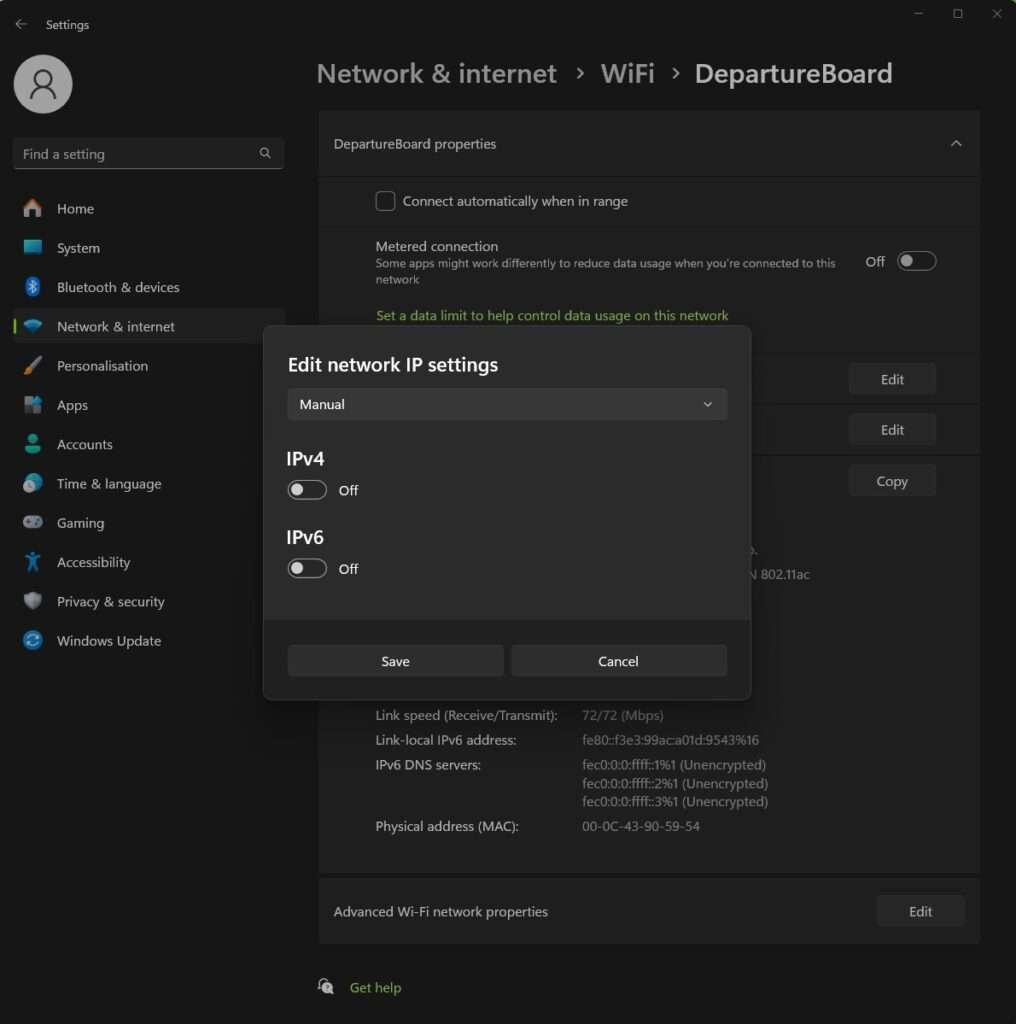
5) Set the following
- ‘IP Address’ to ‘10.0.0.10’
- ‘Subnet mask’ to ‘255.255.255.0’
And press ‘Save’ You should now be connected correctly to the ‘DepartureBoard’ network.
